While I do love the HID enabled tools from Hak5, I wanted to build my own customizable stealth device. Lazy as I am, I started googling to see if someone was doing the same thing… and lo and behold, I found P4wnP1 which proved to be a good foundation to build upon.
P4wnPi
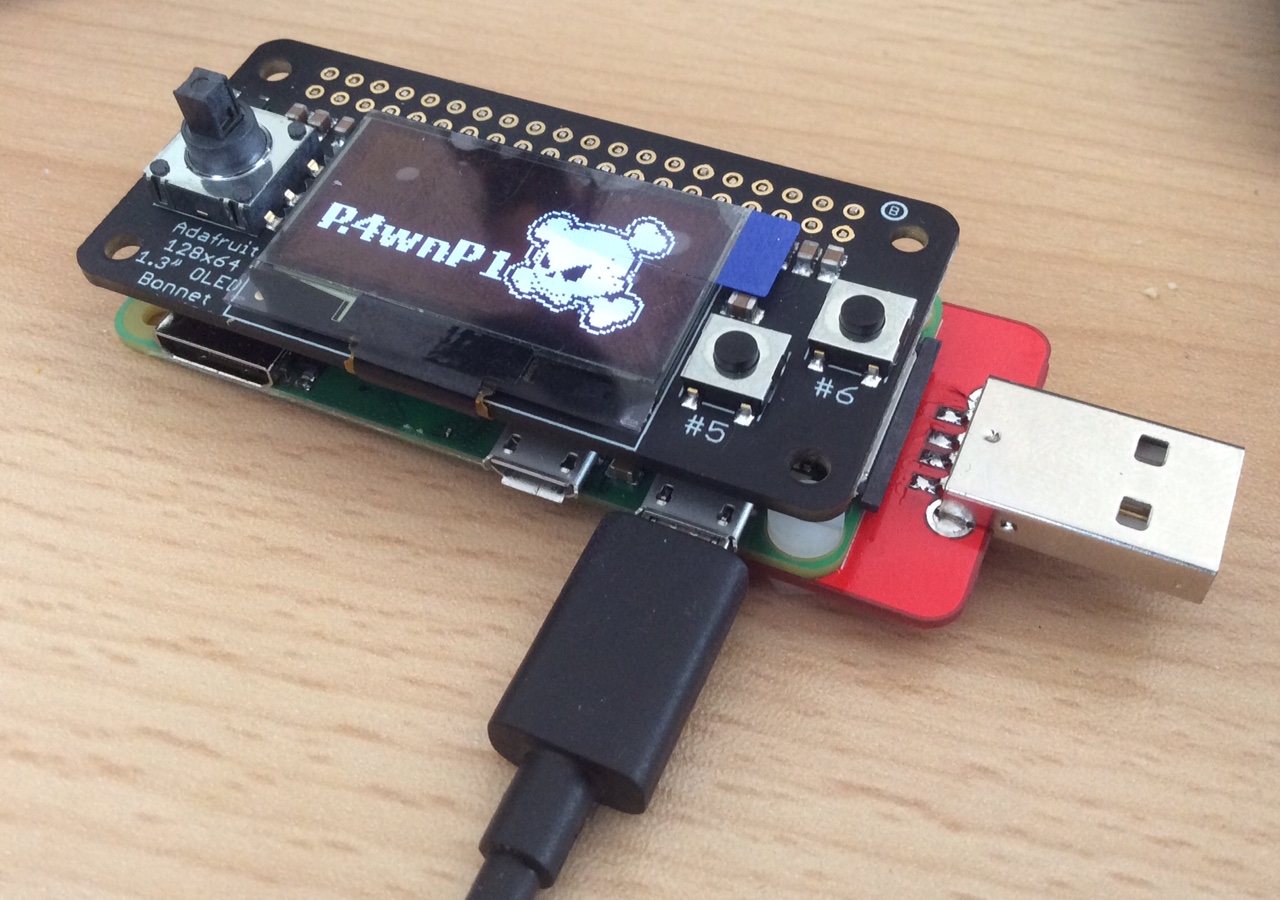
“P4wnP1 is a highly customizable USB attack platform, based on a low cost Raspberry Pi Zero or Raspberry Pi Zero W.”
Well, I couldn’t have said it better myself. Thanks to Marcus Mengs (#MaMe82) for running this amazing project at Github.
The P4wnP1 (pəʊnpʌɪ) can utilize different attack vectors depending on how you arm it. The main attack vectors are WiFi, Ethernet, Bluetooth, and HID, with the ability to add more. It can even combine these into even smarter payloads.
Just to give you an example of what can be done; arm it with a password stealer based on Rob ‘MUBIX’ Fullers‘ now famous presentation of how to snagg creds from locked machines (link). Once inserted in a machine, it will pretend to be an ethernet adapter, giving the client an IP address via DHCP. Since the new network has higher priority in the routing list, traffic will now go out through this adapter instead, but now the traffic will be intercepted by a proxy asking for credentials to continue, and the client says “ok, here is my hashed password”. When the P4wnP1 has the hash it tries to decrypt it using John the Ripper, and if it is possible it will pretend to be a keyboard and types the now decrypted password to unlock the computer. If not, then it still has your hashed credentials for offline decryption.
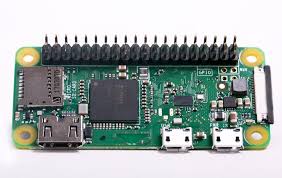
Raspberry Pi Zero W
I’ve been in love with the Raspberry Pi family of low power/low footprint computers since they first showed up on the market in 2012, and I have plenty of them laying around. But I havn’t found a reason, or time, to check out the new sub-family of Zero boards that came out last year until now.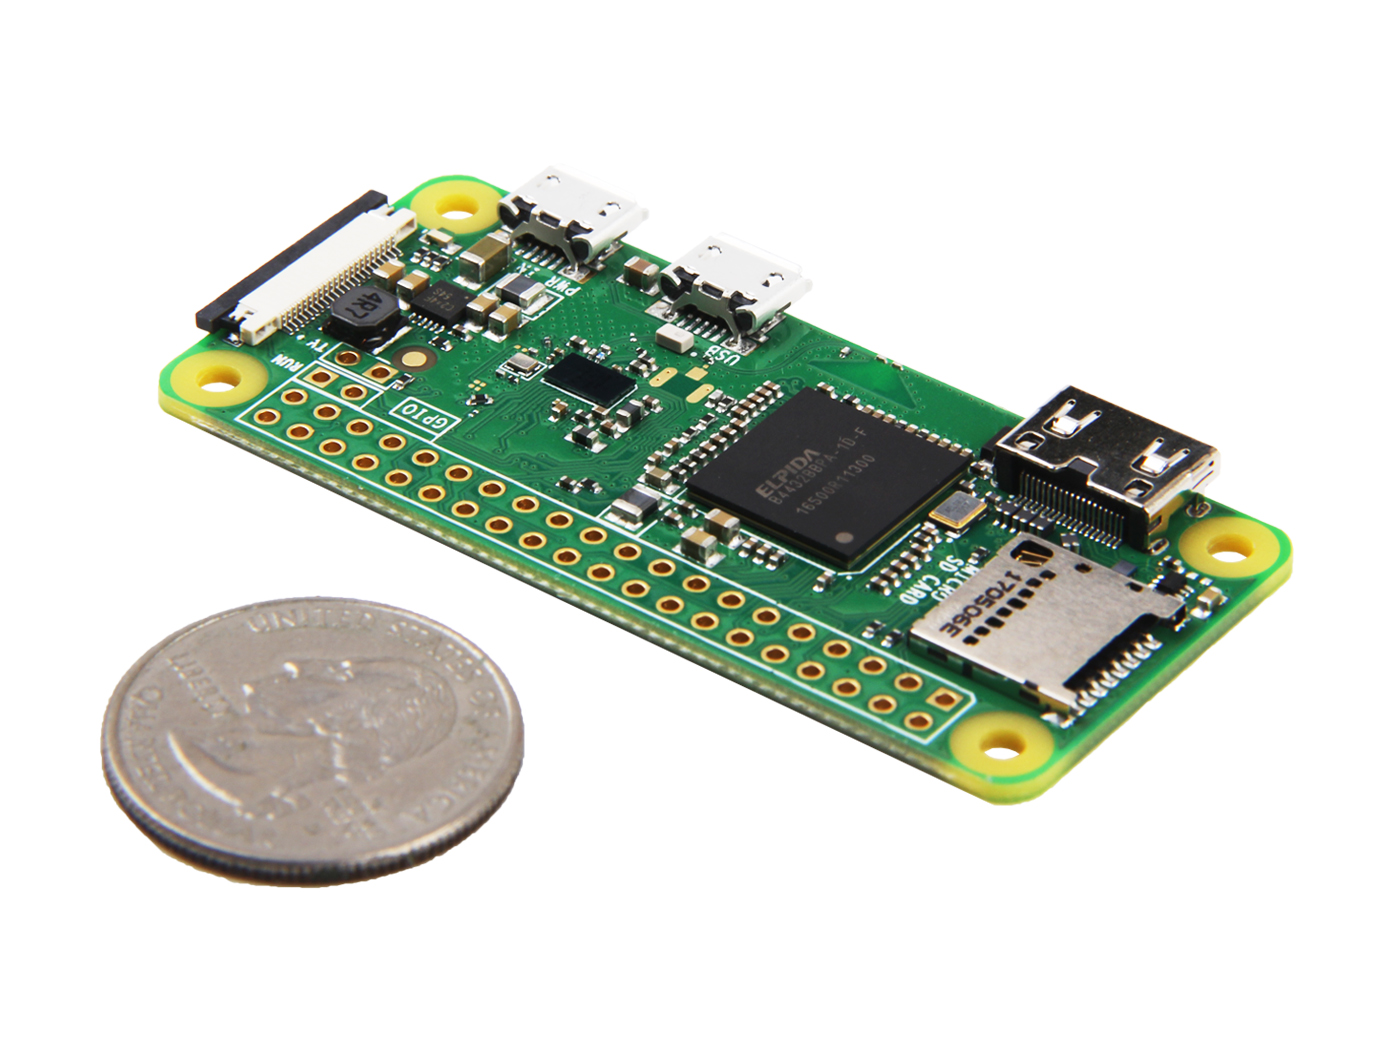
- 802.11 b/g/n wireless LAN
- Bluetooth 4.1
- Bluetooth Low Energy (BLE)
- 1GHz, single-core CPU
- 512MB RAM
- Mini HDMI and USB On-The-Go ports
- Micro USB power
- HAT-compatible 40-pin header
- Composite video and reset headers
- CSI camera connector
BoM – things you need
- Minimum requirements:
- Raspberry Pi Zero W
- MicroSD card – 4 GB, but the larger the better
- Optional but recommended:
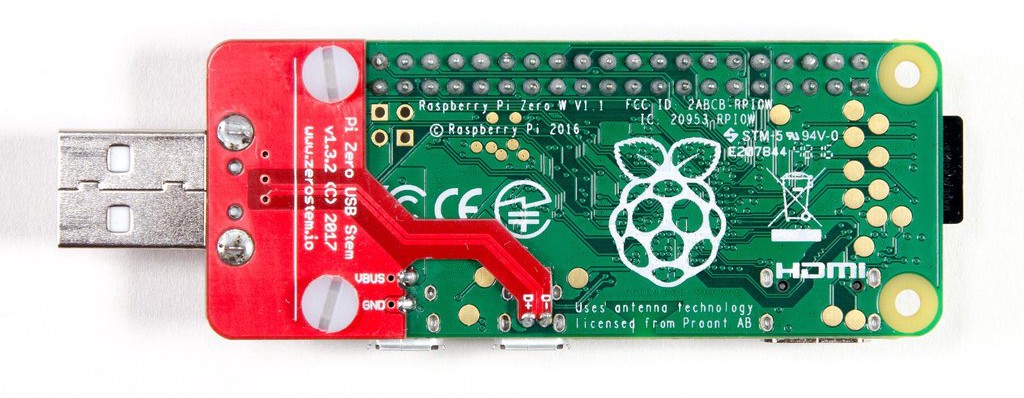
- Sparkfun Pi Zero USB stem (link)
- Adafruit OLED Bonnet (link)
- 5V USB Powerbank (the larger the better)
- Optional:
- HDMI adapter (female to male mini)
- USB adapter (female USB-A to male USB-B)
- Tools:
- Soldering iron
- Pliers
- Screwdrivers
Hardware Preparations
As a bare minimum you don’t have to do anything, a Raspberry Pi Zero with a microSD card will do.
But since I’m not going to use this as a “set-and-forget” device you leave behind, I wanted to add an easy way to change which payload to arm the device with. Therefore I decided to add a small display with some buttons.
For this you have to solder a set of GPIO pins to the RaspPi to connect the display to. While I was at it I also added a USB-A port so that I didn’t have to use a USB cable when connecting the P4wnP1 to the victim.
P4wnP1 Installation
The first thing to do is to install the P4wnP1 onto your Raspberry Pi Zero. This is pretty straight forward (and out of scope of this blogpost). Just follow the instructions on the projects Github page.
If you’ve decided to add the OLED display you also need to add a menu system to support it.
- P4wnP1 OLED Bonnet mod from Stephan Hahn (link)
- BeBoxos Oled Menu from BeBoxos (link)
For this one to work you have to change the settings for the buttons in the code:#GPIO for UP BUP=17 #GPIO for DOWN BDOWN=22 #GPIO for LEFT BLEFT=27 #GPIO for Right BRIGHT=23 #GPIO for button BFIRE=5
GPIO.setup(BUP, GPIO.IN, pull_up_down=GPIO.PUD_UP)
GPIO.setup(BDOWN, GPIO.IN, pull_up_down=GPIO.PUD_UP)
GPIO.setup(BLEFT, GPIO.IN, pull_up_down=GPIO.PUD_UP)
GPIO.setup(BRIGHT, GPIO.IN, pull_up_down=GPIO.PUD_UP)
GPIO.setup(BFIRE, GPIO.IN, pull_up_down=GPIO.PUD_UP)
You must be logged in to post a comment.